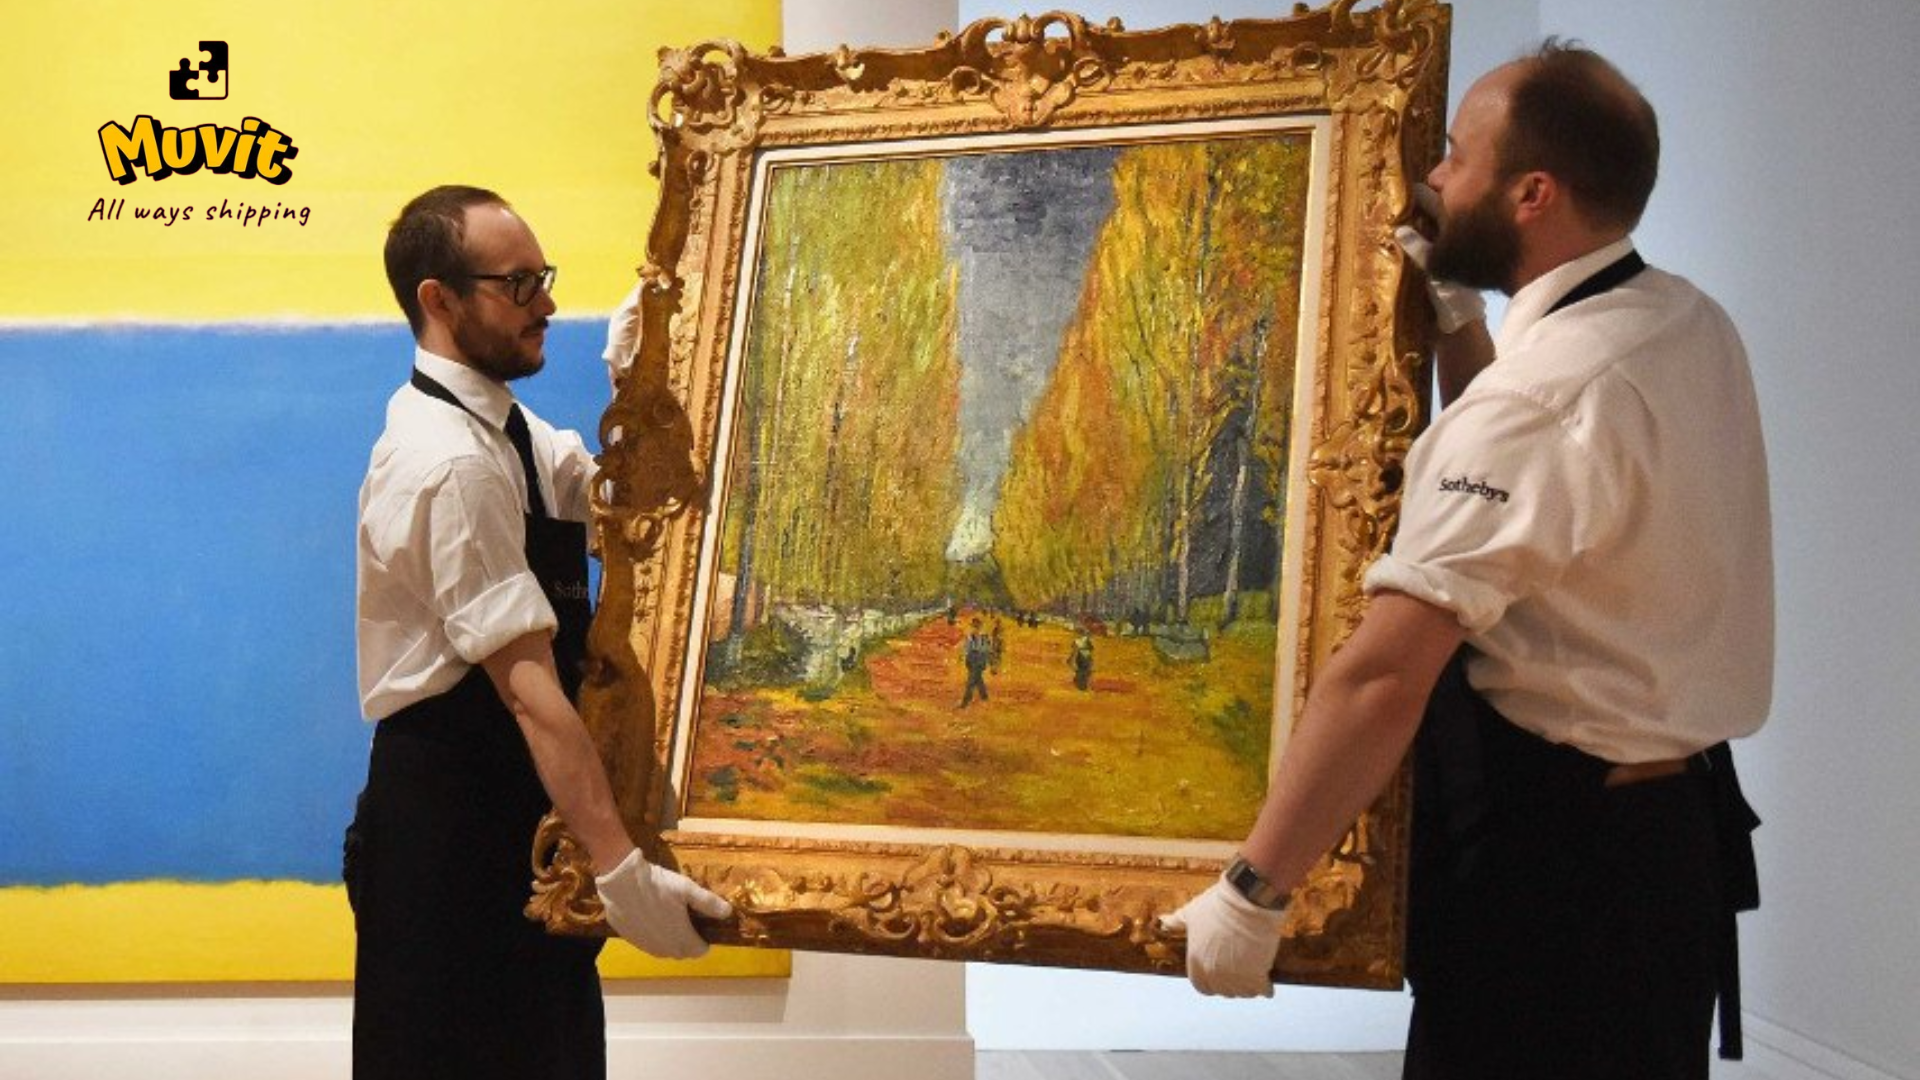
Moving art, whether it’s paintings, sculptures, or delicate installations, requires meticulous preparation and care to ensure each piece arrives at its destination in perfect condition. Properly preparing art for transportation involves understanding the unique requirements of different types of artwork and employing the right techniques and materials. Here is a comprehensive guide to help you prepare various types of art for moving.
Preparing Paintings for Moving
Assess the Condition of the Painting
Before starting the packing process, examine each painting for any existing damage. Take photographs of the artwork from different angles to document its condition. This can be useful for insurance purposes and to ensure you notice any new damage that might occur during the move.
Gather Necessary Packing Materials
- Acid-free paper
- Bubble wrap
- Packing tape
- Corner protectors
- Custom-sized cardboard or wooden crates
Steps for Packing Paintings
1. Clean Hands and Workspace: Ensure your hands are clean and dry to avoid transferring dirt or oils onto the painting. Prepare a clean, flat workspace.
2. Protect the Surface: Place acid-free paper over the surface of the painting to protect it from dust and scratches.
3. Wrap with Bubble Wrap: Wrap the entire painting with bubble wrap, ensuring the bubbles face outward to avoid impressions on the canvas. Secure the bubble wrap with packing tape.
4. Add Corner Protectors: Place corner protectors on each painting corner to prevent damage during handling and transportation.
5. Place in a Cardboard or Wooden Crate: Place the wrapped painting in a custom-sized cardboard box or wooden crate for added protection. Fill empty spaces with packing peanuts or crumpled paper to prevent movement within the box.
6. Seal and Label: Seal the crate securely with packing tape and label it with “Fragile” and “This Side Up” stickers to ensure careful handling.
Preparing Sculptures for Moving
Assess the Condition of the Sculpture
Inspect the sculpture for any fragile or protruding parts that might require additional protection. Document its condition with photographs.
Gather Necessary Packing Materials
- Bubble wrap
- Packing foam
- Packing tape
- Custom-sized cardboard or wooden crates
- Foam padding or blankets
Steps for Packing Sculptures
1. Clean the Sculpture: Dust the sculpture gently to remove any surface dirt. Use a soft brush or cloth, avoiding water or cleaning agents that could damage the material.
2. Wrap with Bubble Wrap and Foam: Wrap the sculpture thoroughly with bubble wrap, paying extra attention to fragile areas. For additional protection, wrap the bubble-wrapped sculpture with packing foam or blankets.
3. Create a Custom Crate: Use a custom-sized cardboard box or wooden crate that fits the sculpture snugly. Line the interior of the crate with foam padding or blankets.
4. Secure the Sculpture in the Crate: Place the wrapped sculpture in the crate and fill any gaps with more foam padding or blankets to prevent movement. Ensure that the sculpture is immobilized within the crate.
5. Seal and Label: Securely seal the crate with packing tape. Label it with “Fragile,” “Handle with Care,” and “This Side Up” stickers to ensure proper handling.
Preparing Delicate Installations for Moving
Assess the Condition of the Installation
Carefully examine the installation for any delicate or movable parts. Document its condition with detailed photographs.
Gather Necessary Packing Materials
- Acid-free tissue paper
- Bubble wrap
- Packing foam
- Packing tape
- Custom-sized cardboard or wooden crates
- Foam padding or blankets
Steps for Packing Delicate Installations
1. Disassemble if Possible: If the installation can be safely disassembled, carefully remove it. Record how it was assembled to facilitate reassembly at the new location.
2. Wrap Each Component: Wrap each component individually with acid-free tissue paper and bubble wrap. Secure the wrapping with packing tape.
3. Protect Fragile Parts: Use additional packing foam or blankets to protect especially fragile parts.
4. Use Custom Crates: Place the wrapped components in custom-sized cardboard boxes or wooden crates. Line the interior of the crates with foam padding or blankets.
5. Seal and Label: Securely seal the crates with packing tape and label them with “Fragile,” “Handle with Care,” and “This Side Up” stickers.
Final Tips for Art Moving
Use Professional Art Movers
Consider hiring professional art movers who specialize in handling and transporting delicate and valuable artwork. They have the expertise, equipment, and materials to ensure the safe relocation of your art.
Insure Your Art
Ensure that your art is adequately insured during the move. Consult with your insurance provider to understand the coverage and any necessary documentation.
Monitor Environmental Conditions
Pay attention to temperature and humidity levels during the move, as extreme conditions can damage artwork. Use climate-controlled transportation and storage if necessary.
By following these steps and using the right materials, you can significantly reduce the risk of damage to your valuable art during the move. Proper preparation is key to ensuring that your paintings, sculptures, and delicate installations arrive at their new location in pristine condition. For more information and professional assistance with your art move, visit Muvit,


